You’ve made the exciting (but nerve-wracking) decision to take on a foster puppy! Congratulations! Now, let’s puppy-proof your home, setup the puppy playpen, and get everything ready for their arrival.
How to Puppy-Proof Your Home
It’s important to puppy-proof any of the areas that you expect your puppy to be in! It will be easier on you to have them confined to a general area, like a play pen or a room or two, rather than free-roaming your entire home.
Remove valuables! If there’s something that you would be devastated if they chewed on, peed on, or otherwise knocked over or destroyed, it should be moved to higher ground or to another space.
Protect wires from puppy teeth. Wires are a tantalizing chew toy for many puppies, and it’s not good for them to chew on them nor is it good for you! Puppies should be supervised in any areas that have free access to wires, but if you can put them behind a barrier or make them harder (or less obvious) to get to, please do so for everyone’s sake.
Remove choking hazards. Much like a human baby or toddler, small objects can turn into choking hazards quickly (like Legos). Your puppy should have access to size-appropriate toys and chews. If you have kids who leave their toys out, make sure you pick them up before putting a puppy in the same room.
Secure trash cans. Whether it’s the kitchen trash or a bathroom trash, you’ll want to make sure your pup can’t get into it. Many items that we dispose of can be toxic to our pets or cause blockages if consumed.
Relocate toxic houseplants. While some plants are not toxic to pets, the majority are. Even those that are not toxic will make tempting salad bars for puppies, so it is in everyone’s interest to keep live plants out of your pup’s reach!
Secure your outdoor area. You’ll want to make sure that you have a completely fenced in area for your puppy if they are outdoors. You can verify that your yard is secure or you can use an x-pen in the yard if you do not feel your yard is secure or the area is too big. Make sure to thoroughly check for any possible escape points (puppies are smaller and more jelly-like than you expect) as well as remove any hazards (sharp objects, tools, pesticides, etc.).
How to Setup Your Puppy Playpen
The ideal setup for your puppy will depend on its age and how often (and how long) it will be left alone. If you have a younger puppy that will need to be left alone for six to eight hours, you may find that it needs a larger playpen initially until it has better control over its bladder.
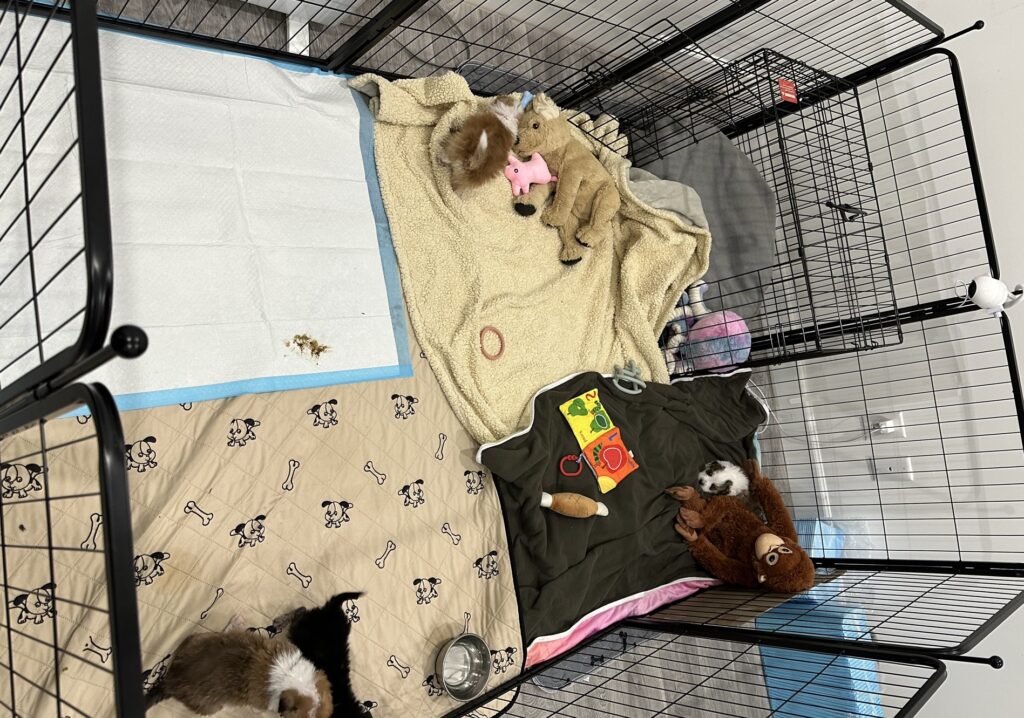
When you have very young puppies (under eight weeks of age), the pen may work as their “home” with a sleeping area, eating area, playing area, and potty area. Older puppies (at least eight weeks old, if not older) will benefit from being in a crate whenever you expect them to sleep, as this will encourage them to settle and reinforce house training.
Setting Up an Indoor Puppy Playpen
For your indoor puppy playpen, it’s important to consider if this is just a larger, more open space for them to be in when you’re home and not actively supervising/playing with them (e.g. making dinner, doing laundry, watching TV) or if it’s designed to be their all-in-one space.
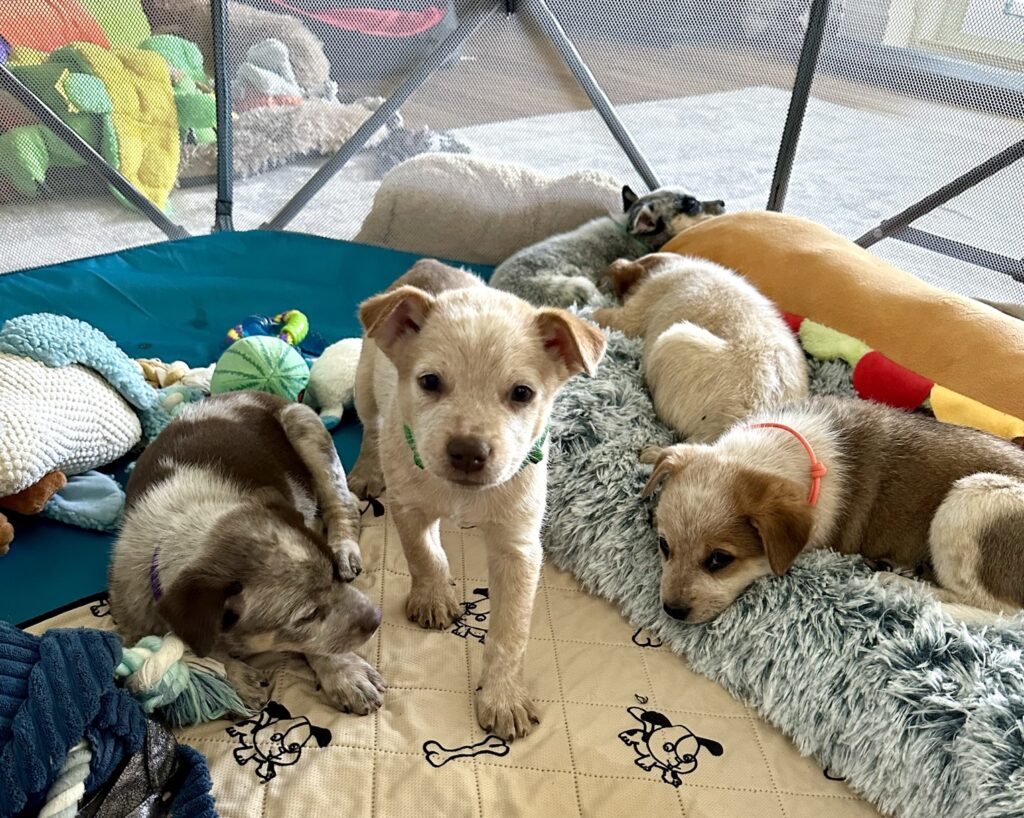
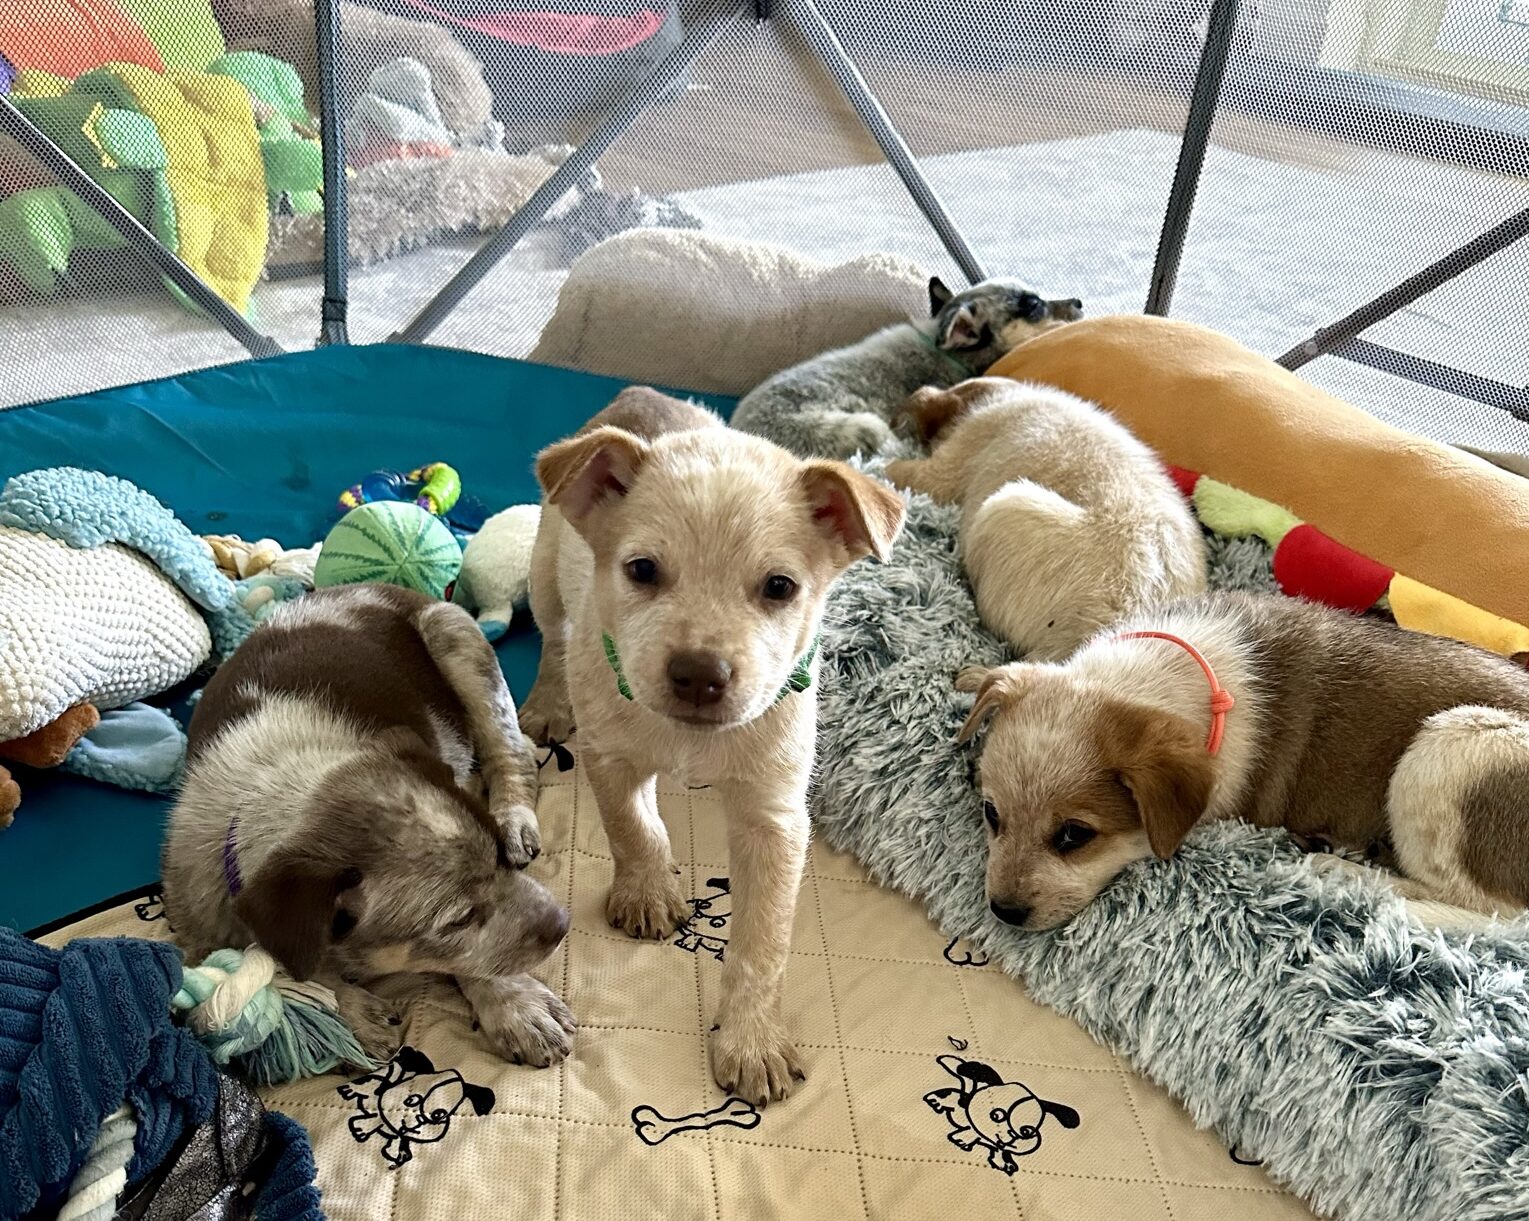
If it’s a place to confine them to so they don’t get into too much trouble, but it is not their all-in-one space, it doesn’t need to be that large and can contain an area to sleep, some toys, and a disposable pee pad in case they need to potty. Most rescues will be able to provide an exercise pen (often called an x-pen), which is hinged wire fencing that can be used to create a confined area in a variety of shapes. You can also use a baby crib or playpen.
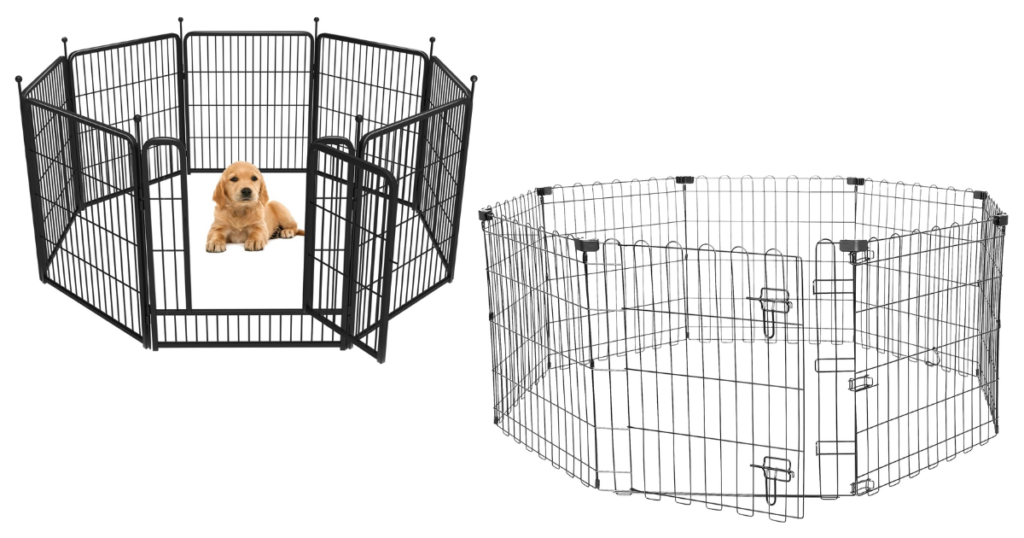
If it’s an all-in-one space, it will need to be larger and a bit more secure. I would recommend setting it up in an area that isn’t high-traffic so that the puppy isn’t constantly waking up and learning to seek attention every time you pass their area. For example, I keep my all-in-one setup in a spare bedroom, which gives me freedom to close the door if I want the puppies to be undisturbed and allows me to freely move about the house without waking them up.
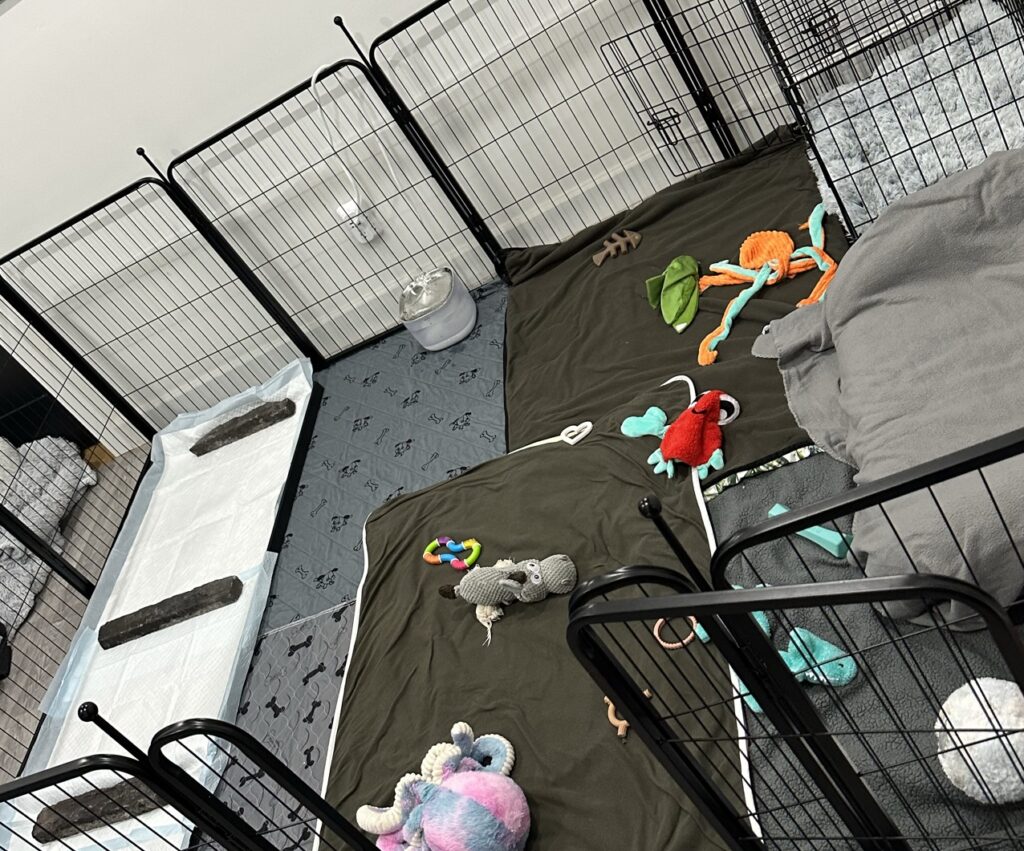
The all-in-one set up needs to be large enough to accommodate different areas for your puppy: an area for sleeping (like an open crate with bedding or a small bed), play area (doesn’t need to be huge if you expect to take your pup out for playing), eating/drinking area (where you’ll set their food down and room for a water bowl), and a potty area (the size of this relative to the rest of the pen depends on how old they are and how successful they’ve been at using the area).
Setting Up an Outdoor Puppy Playpen
An outdoor puppy playpen should give the puppy ample space to play and explore the outdoors in a safe, secure way. There should be room for them to do some running around after a ball or pouncing on a sibling or two.
Wire pens that are between 24″ and 36″ in height work for most puppies. If you have small-breed puppies, 24″ should be sufficient, but if you have larger-breed puppies, 32″ to 36″ will be ideal. They make taller pens, which may be necessary if you have a giant puppy, but they are harder to access without going into the pen.
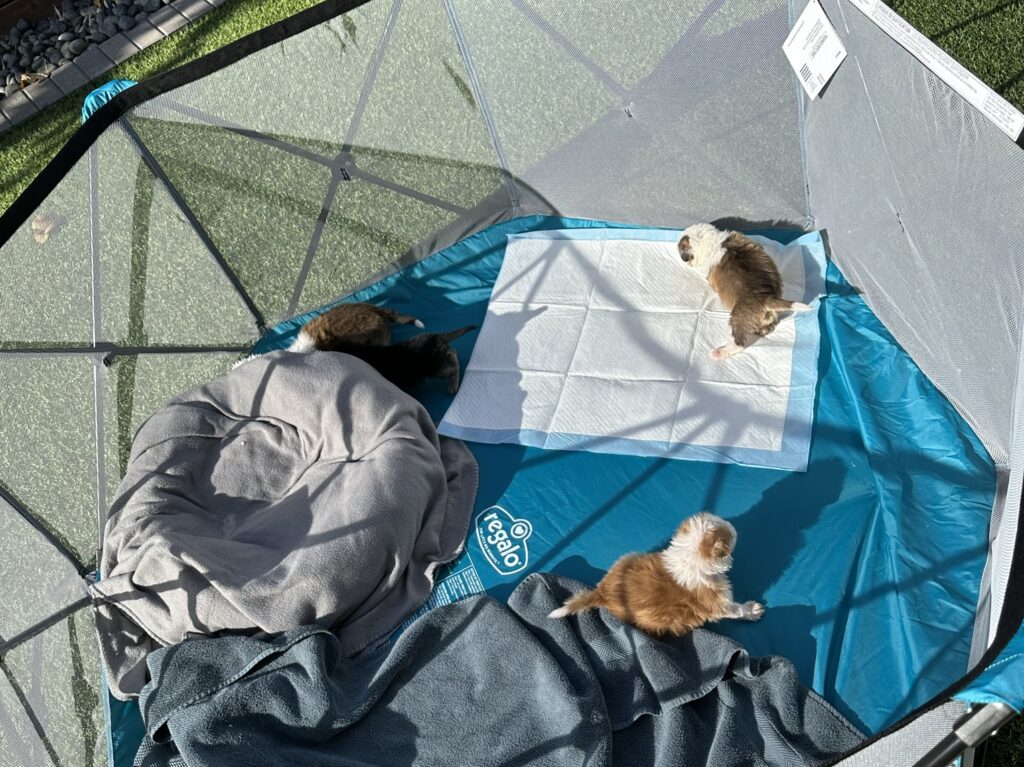
You can also use a crib or similar for something that’s softer and has a secure bottom. I like using these for very young puppies (four weeks old) both inside and outside for temporary setups. I will have a bed, disposable pee pad, and some toys in the pen for them.
As I tend to foster litters of puppies, I have the middle section of my yard lined with puppy fencing to confine them to where I can easily see them from the patio and from inside the main area of the home. I also use it to keep them away from planter boxes and prevent them from grabbing fresh salad!
How to Setup Your Puppy’s Crate
No matter the age of your pup, building a positive relationship with a crate is something we can do from the beginning. When pup’s are young, we simply include an open crate in their pen and keep it feeling cozy with a bed or blankets to encourage them to use it as their “den.” As they get more comfortable and older, we can close the crate and let them take shorter naps or eat their meals in them. Eventually, they will consider it a safe space designed for sleeping and settling!
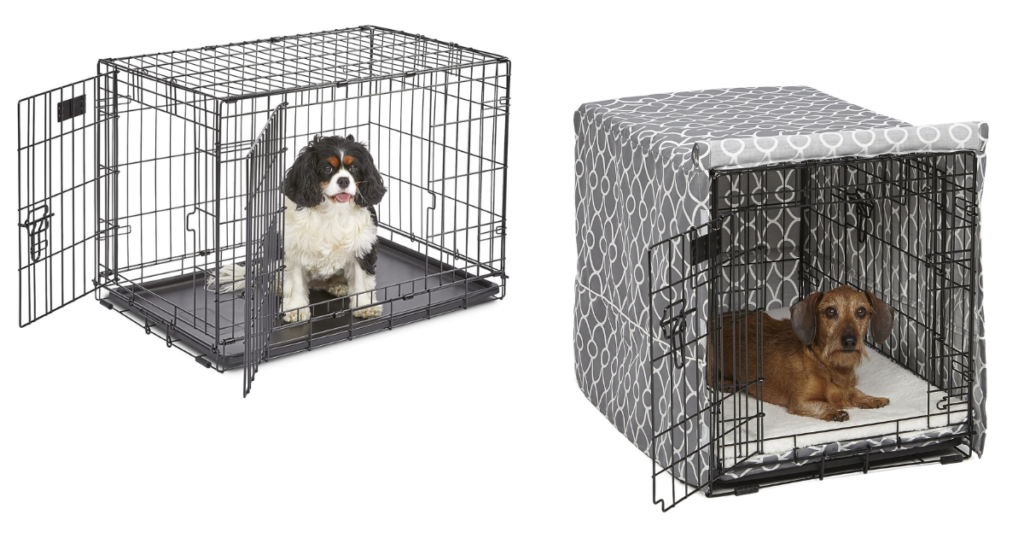
There are a myriad of crates available, but most fosters will have access to wire crates and the occasional plastic crates. Wire crates provide better visual access, but puppies who struggle to stay in a crate may be more prone to catching their paws on it, so a plastic crate might be more suitable for them. If you have a puppy who has a tough time settling in a crate, covering it with a crate cover or blanket/towel can help.
My favorite type of wire crates are the ones with double doors, so you can arrange it to suit your space as well as the size of your puppy (or puppies) for easy access. It is also helpful to have the wider door on one side for cleaning and wiping down the inside of the crate as needed.
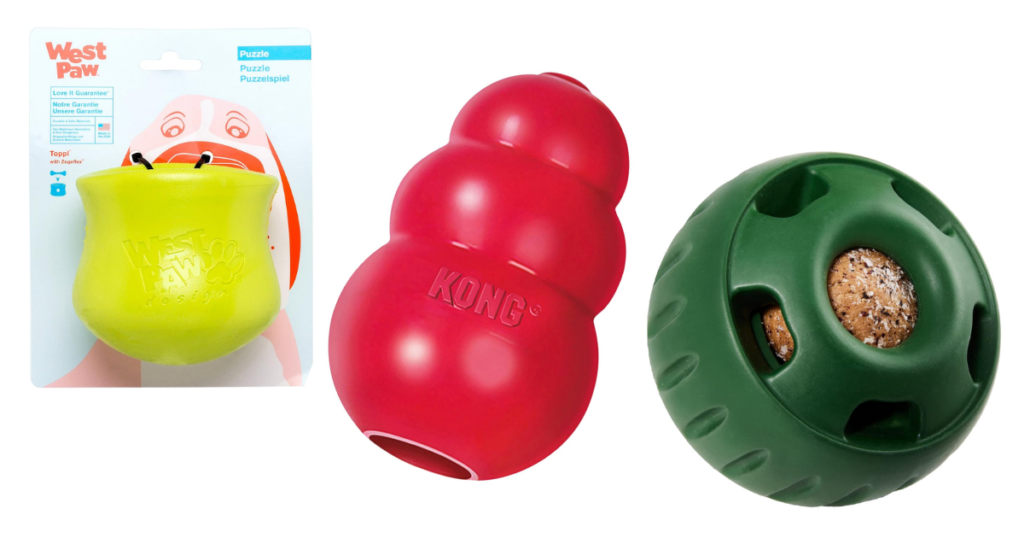
Inside the crate, a puppy should have bedding and/or a bed, assuming they do not destroy these objects. I would recommend starting with a crate bed (effectively a thin pad) and a soft blanket. If you find the blanket gets torn or shredded at all, remove it and leave just the bed. If they work on the bed, then they may not be able to have any bedding yet. You can also try giving them a treat-filled toy so they can chew and work on that rather than their bedding.
The crate should be placed within the larger playpen area if you have one. If you’re just getting the puppy used to the crate, it should be setup in a quiet part of a room that you frequent. If you’re working on the puppy settling down and napping in their crate, it should be placed in a quiet area that is low-traffic so that they don’t get distracted or easily woken up.
If possible, the crate should be near their potty area (whether that’s close to an exterior exit or by a puppy pee pad) so that you can easily take them to the designated potty area after they leave their crate.
After all that, you should be all setup to take on your foster puppy! Good luck!

